
In the last post in the Technology for Seniors Made Easy blog, How to Upload or Change Your Profile Photo in Facebook, I went into specific details highlighting Facebook’s Help menu. A day after posting this, I picked up on someone’s comment in Facebook suggesting a whole different and much simpler approach.
The quicker alternative to what I suggested in the prior post is to simply go to the Photos you’ve uploaded into Facebook and select one photo.
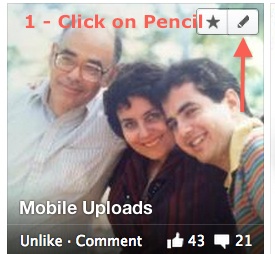
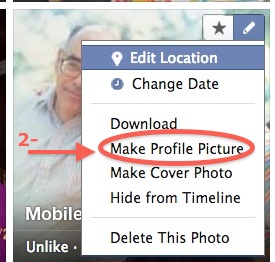
Then click on the pencil in the upper right of the photo to edit. A menu will open. Click on “Make Profile Picture.”
The photo will then open with a transparent square box in the center. It is the required size and shape for the Profile Photo.
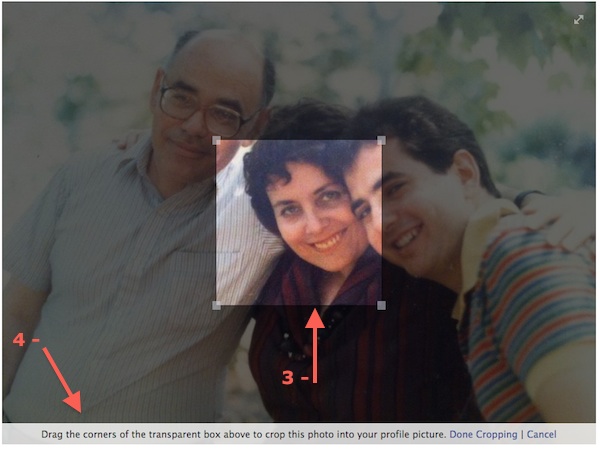
3 – You can move the box around to select that portion that you wish to appear as your Thumbnail Profile Photo. As you can see there is too much in this one photo of me with my husband and son (from over 30 years ago) to have it be my “temporary” profile photo.
4 – Facebook’s instructions at the bottom state, “Drag the corners of the transparent box above to crop this photo into your profile picture.” You then have the choice for “Done Cropping” or to “Cancel.” I selected “cancel.”
A Final Edit on the Process as I described it –
After reading the above, I decided to do one more check.
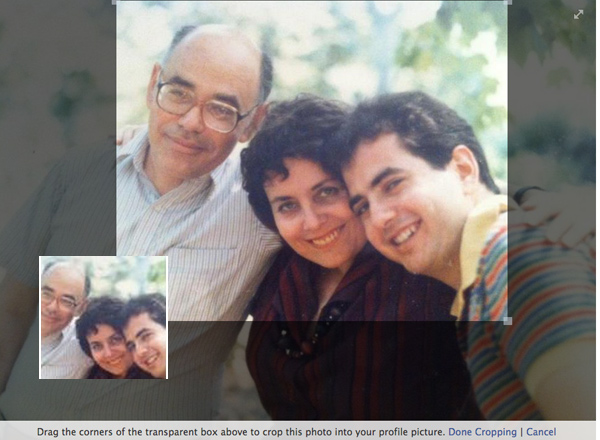
This time I did, in fact, move the corners to select the three of us and clicked “Done Cropping.” Then Facebook’s technology squared it off cutting some out. After that, we are given the choice to move the new square one around until the photo fits what we want.
So, for now, I have a new profile photo on my Facebook Timeline.
Please share your experiences with photos and Facebook in the “Leave a reply” box below. You are welcome to include your Facebook URL, or address, copied from the address bar and pasted in with your comments.